Nordic Walking Technique: The Stride, Step by Step
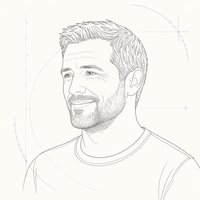
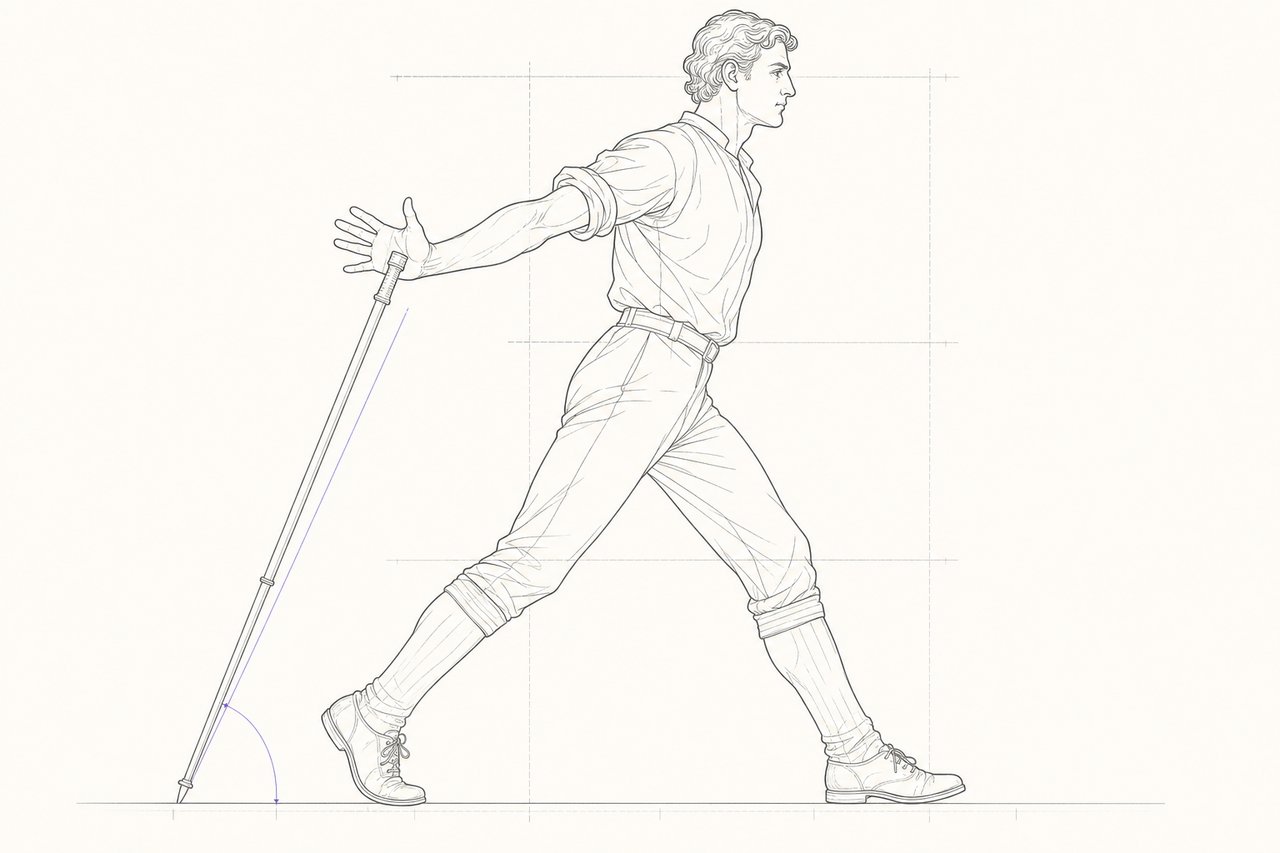
There is one thing to understand: the pole belongs behind the body at an angle and is pushed backwards. Everything below is a consequence of that. A correct stride is not recognised by speed or by effort but by whether the hand is open behind the hip. If it stays closed, half the movement is missing, and almost every common fault originates at that single point.
The five phases
Right arm and left leg travel forward together, then the sides swap. Phases three and four carry the effect; the first two position the pole and the last returns the arm.
-
The tip meets the ground behind the leading foot. Arm slightly bent, hand closed, elbow pointing down.
-
The body travels over the planting point. The elbow opens and pressure runs from the palm into the strap.
-
The working phase. The arm extends fully backwards, the trunk rotates slightly against the leg axis.
-
Behind the hip the hand opens. The pole hangs in the strap and swings freely through.
-
The arm swings forward relaxed. The hand closes again shortly before the next plant.
Learning it in four steps
The order used in classes is deliberately slow, because learning timing and force at the same time reliably ends in a shortened arm action.
First, walk without poles and let the arm swing wide, opening the hand behind the hip and closing it in front. Second, let the poles trail without planting them; the tips draw a line in the ground while the arm keeps its full swing. Third, plant the poles but apply no pressure. Fourth, add the pressure, at first over stretches of around fifty metres alternating with easy walking. The whole sequence fits into one thirty-minute session.
Four checks that show it is right
All four can be judged from outside and none needs a measuring device. The tip lands behind the heel of the leading foot. The elbow stays below horizontal at the moment of planting. The hand is visibly open behind the hip. And the line of the tips stays narrow rather than running in two widely separated tracks. When those four hold together the movement is correct, whatever the pace.
A fifth check is audible. A cleanly guided pole makes one short click per step on tarmac. A double or scraping sound means the tip is landing twice or being dragged.
The faults and where they come from
The four common faults rarely appear alone, because each one produces the next. The pole planted in front of the body is the worst: it brakes instead of driving, and it usually comes from habits formed with trekking poles. The closed hand behind the hip prevents extension and removes the push phase. The short arm action follows from that, and an over-long pole enforces it further. The raised shoulder appears when the pole is gripped rather than pushed through the strap.
All four are corrected the same way: back to step one without poles, until the swing returns. Working on the symptom instead, by consciously reaching further back, simply moves the problem into the lower back.
Frequently asked questions
How long does it take to learn?
The arm swing settles for most people within two or three sessions. Full extension behind the hip takes longer, usually four to six weeks of regular walking, because it depends on shoulder mobility that everyday life does not ask for.
Should the trunk rotate?
Slightly, and it happens by itself once the arm genuinely travels back. It does not need to be produced deliberately. Exaggerating it costs you the line of travel and loads the lumbar spine unevenly.
How do I know a pole is too long?
By the elbow angle at the moment of planting. If the forearm sits noticeably above horizontal, the pole is too long, and the push is cut short because the arm can no longer reach full extension behind the body.
Where should I look?
Ten to fifteen metres ahead. Looking down tips the chest inwards, and a collapsed chest measurably reduces the shoulder range the push phase needs. On rough ground where you must watch your feet, the arm action shortens whether you intend it or not.
How can I check myself without a coach?
Your own shadow with a low sun, or a reflection in a shop window. Both show in profile whether the hand is open behind the hip. A short video from the side does the same, more precisely.
What is the ALFA method?
A mnemonic for four features: upright posture, long arm, flat pole angle and adapted stride length. It is not a separate system but a condensed statement of the same criteria the five phases describe, and several associations use it as a shared teaching basis.
Does the technique change on hills?
In both directions. Uphill the stride shortens, the poles are planted steeper and closer to the body, and the arms contribute more of the propulsion. Downhill they are planted further forward and support rather than drive, so the push phase effectively disappears.
My wrist hurts. What is wrong?
Check the strap first. If the pole is being gripped rather than pushed through the strap, the wrist works against the resistance on every stroke. With the strap adjusted correctly it carries the load and the hand can stay relaxed.